Kite flying is an exciting sport. Almost everybody wants to enjoy kite flying. But one thing that stops many before they start is ‘tying the thread to the kite’ – “Kannalu kattadam” in Telugu and “Kanne dalna” in Hindi. And also the kite flying jargon used while flying.
In general, kite flying is easy. One can easily learn how to maneuver it in the air. But the difficult task, as mentioned earlier is, tying the thread. Making the holes and tying the knots are two things involved in getting your kite ready. If you don’t do them properly your kite will go uncontrollable, sometimes, it may not at all.
Following is the detailed procedure of how to get your kite ready, especially for beginners and people who are not aware.
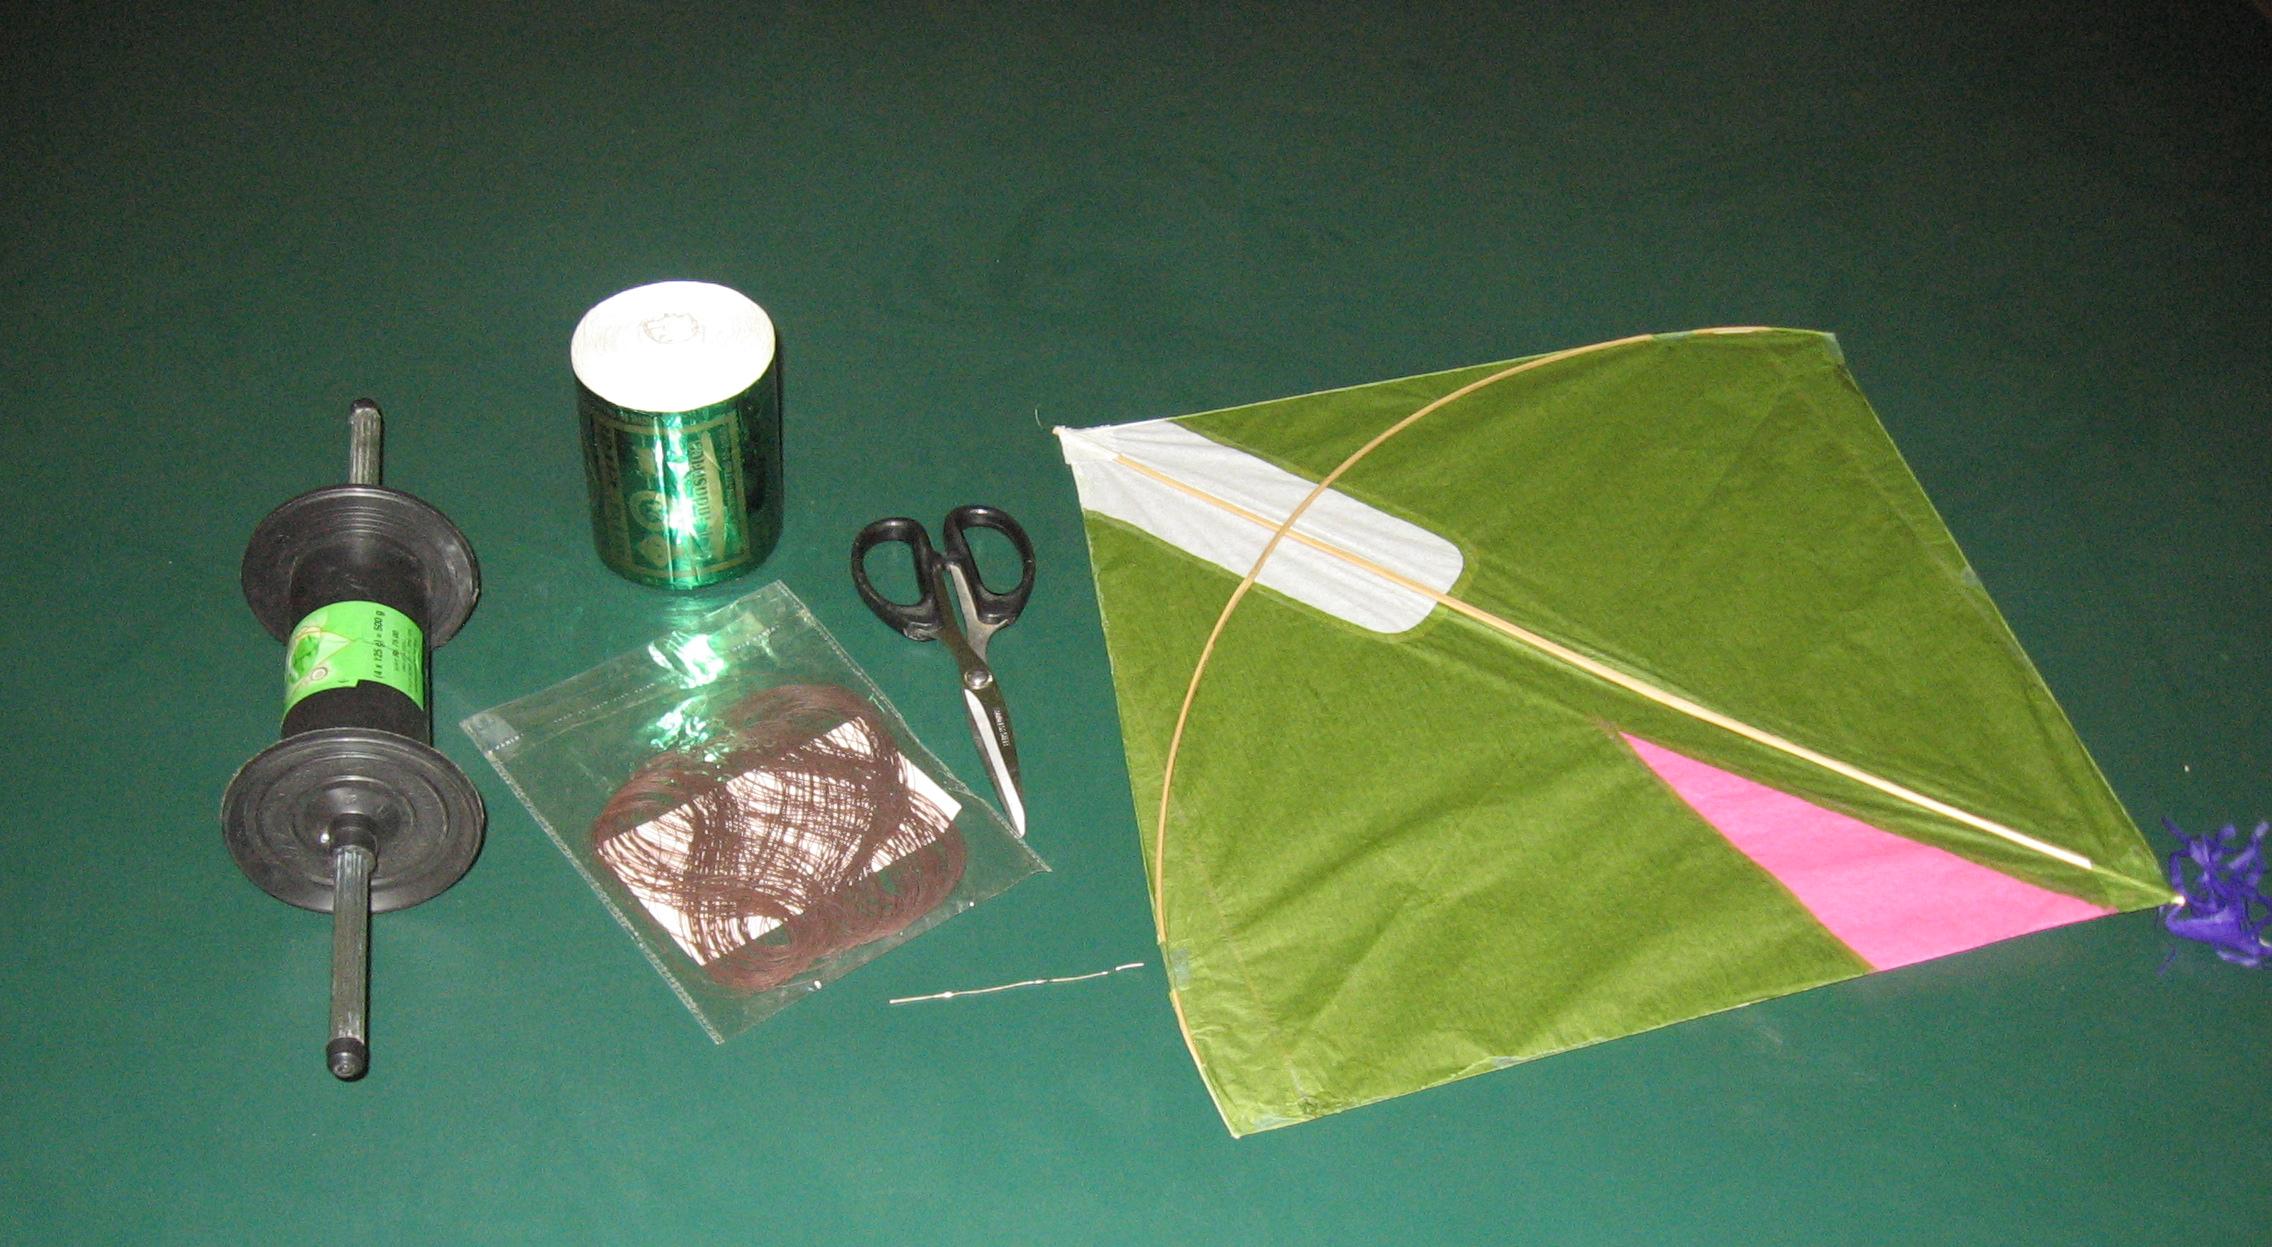
Beginner Kit

Making holes to the kite
 A total of four holes are to be made to the kite to tie the thread – two at the upper end and two at the other end. Below is the step by step procedure.
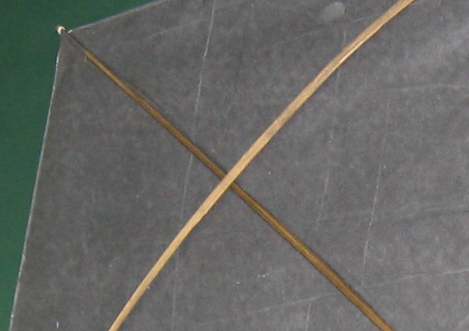
- Step 1: The first two holes are to be made at the point where both the horizontal and vertical sticks intersect. Turn your kite to the side on which the sticks are visible (consider it side 1). Take a pointed object like a pen and make two holes on any of the four corners of the intersection, diagonally.
- Step 2: The next two holes have to be made on either sides of the vertical stick at a distance of 8-9 inches. (It is not standard and different people take different measurements, the measurement we gave here will make kite fly steadily or simple, the kite will not trouble much).
- The simple way to measure the distance between the holes is to use your fingers. Count eight fingers (width) starting from the holes at the intersection of the sticks.
 Tying the thread and putting knots
Once the four holes are made, you have to tie the thread. Total three knots have to be made – two at the holes and the third one at the end of the thread. While the holes are made on side 1 of the kite, the knots have to be tied on the reverse side, i.e., on the side on which we cannot see the sticks (side 2). Let us see how to tie knots using a thread.
- Step 1: Take a thread of 1 meter length and double fold it to get a thicker thread.
- Step 2: Turn to side 2 of your kite. At the first two holes (made at the intersection), take one end of the folded thread and send it through one hole and again bring it back from the other hole to this side (side 2), joining the two sticks. Tie a knot there.
- Step 3: Now take the other end of the thread and tie a knot just similar to the first one at the other two holes on the vertical stick.
Till here you can do on your own. Now you are left with thread tied at both ends to the kite. One more knot has to be made. You can do it but you may not get it right. It is better to experts’ help.
 Once you are done with making holes and tying the two knots, you can take it to someone experienced and ask them to do the final knot. Don’t worry, most Hyderabadis will be ready to help you out in doing this – ask only for final knot – everybody will be busy, they may not do the entire thing for you. Once the final knot is made you can tie your thread to it and start flying the kite.
Tips to follow
- Use only plain thread, better not to use manja for this process.
- The entire thread should be visible on side 2 (on which the sticks are not visible).
- Tie the knots tightly so that they won’t move and tear the kite.
- The final or the third knot is very important – it decides the flight of your kite. So, better take help of experienced kite flyers.
- Make sure that you have enough thread even after the final knot has been made to tie the thread.
- Be careful while making holes, you may get hurt while handling sharp objects.
- If your kite is not flying, after many attempts, remove the knots and tie them again.
You may also like to read:
- Choosing a Good Hyderabadi Kite and Related Accessories – For Beginners
- Places to Buy Good Kites and Manjas in Hyderabad
- Understand the Kite Flying Jargon Used in Hyderabad
